Key takeaways
- Rack and stack is the physical installation of servers, switches and storage into racks: mounted, powered, cabled, labelled and tested.
- Most delays come from gaps in the plan, such as missing cables, wrong rails or no access booking, not from the installation itself.
- Ten items cover almost everything: elevations, inventory, rails, power, port map, labelling, access, remote console, acceptance criteria and handover.
- Settle them before the hardware is ordered, while changes are still free.
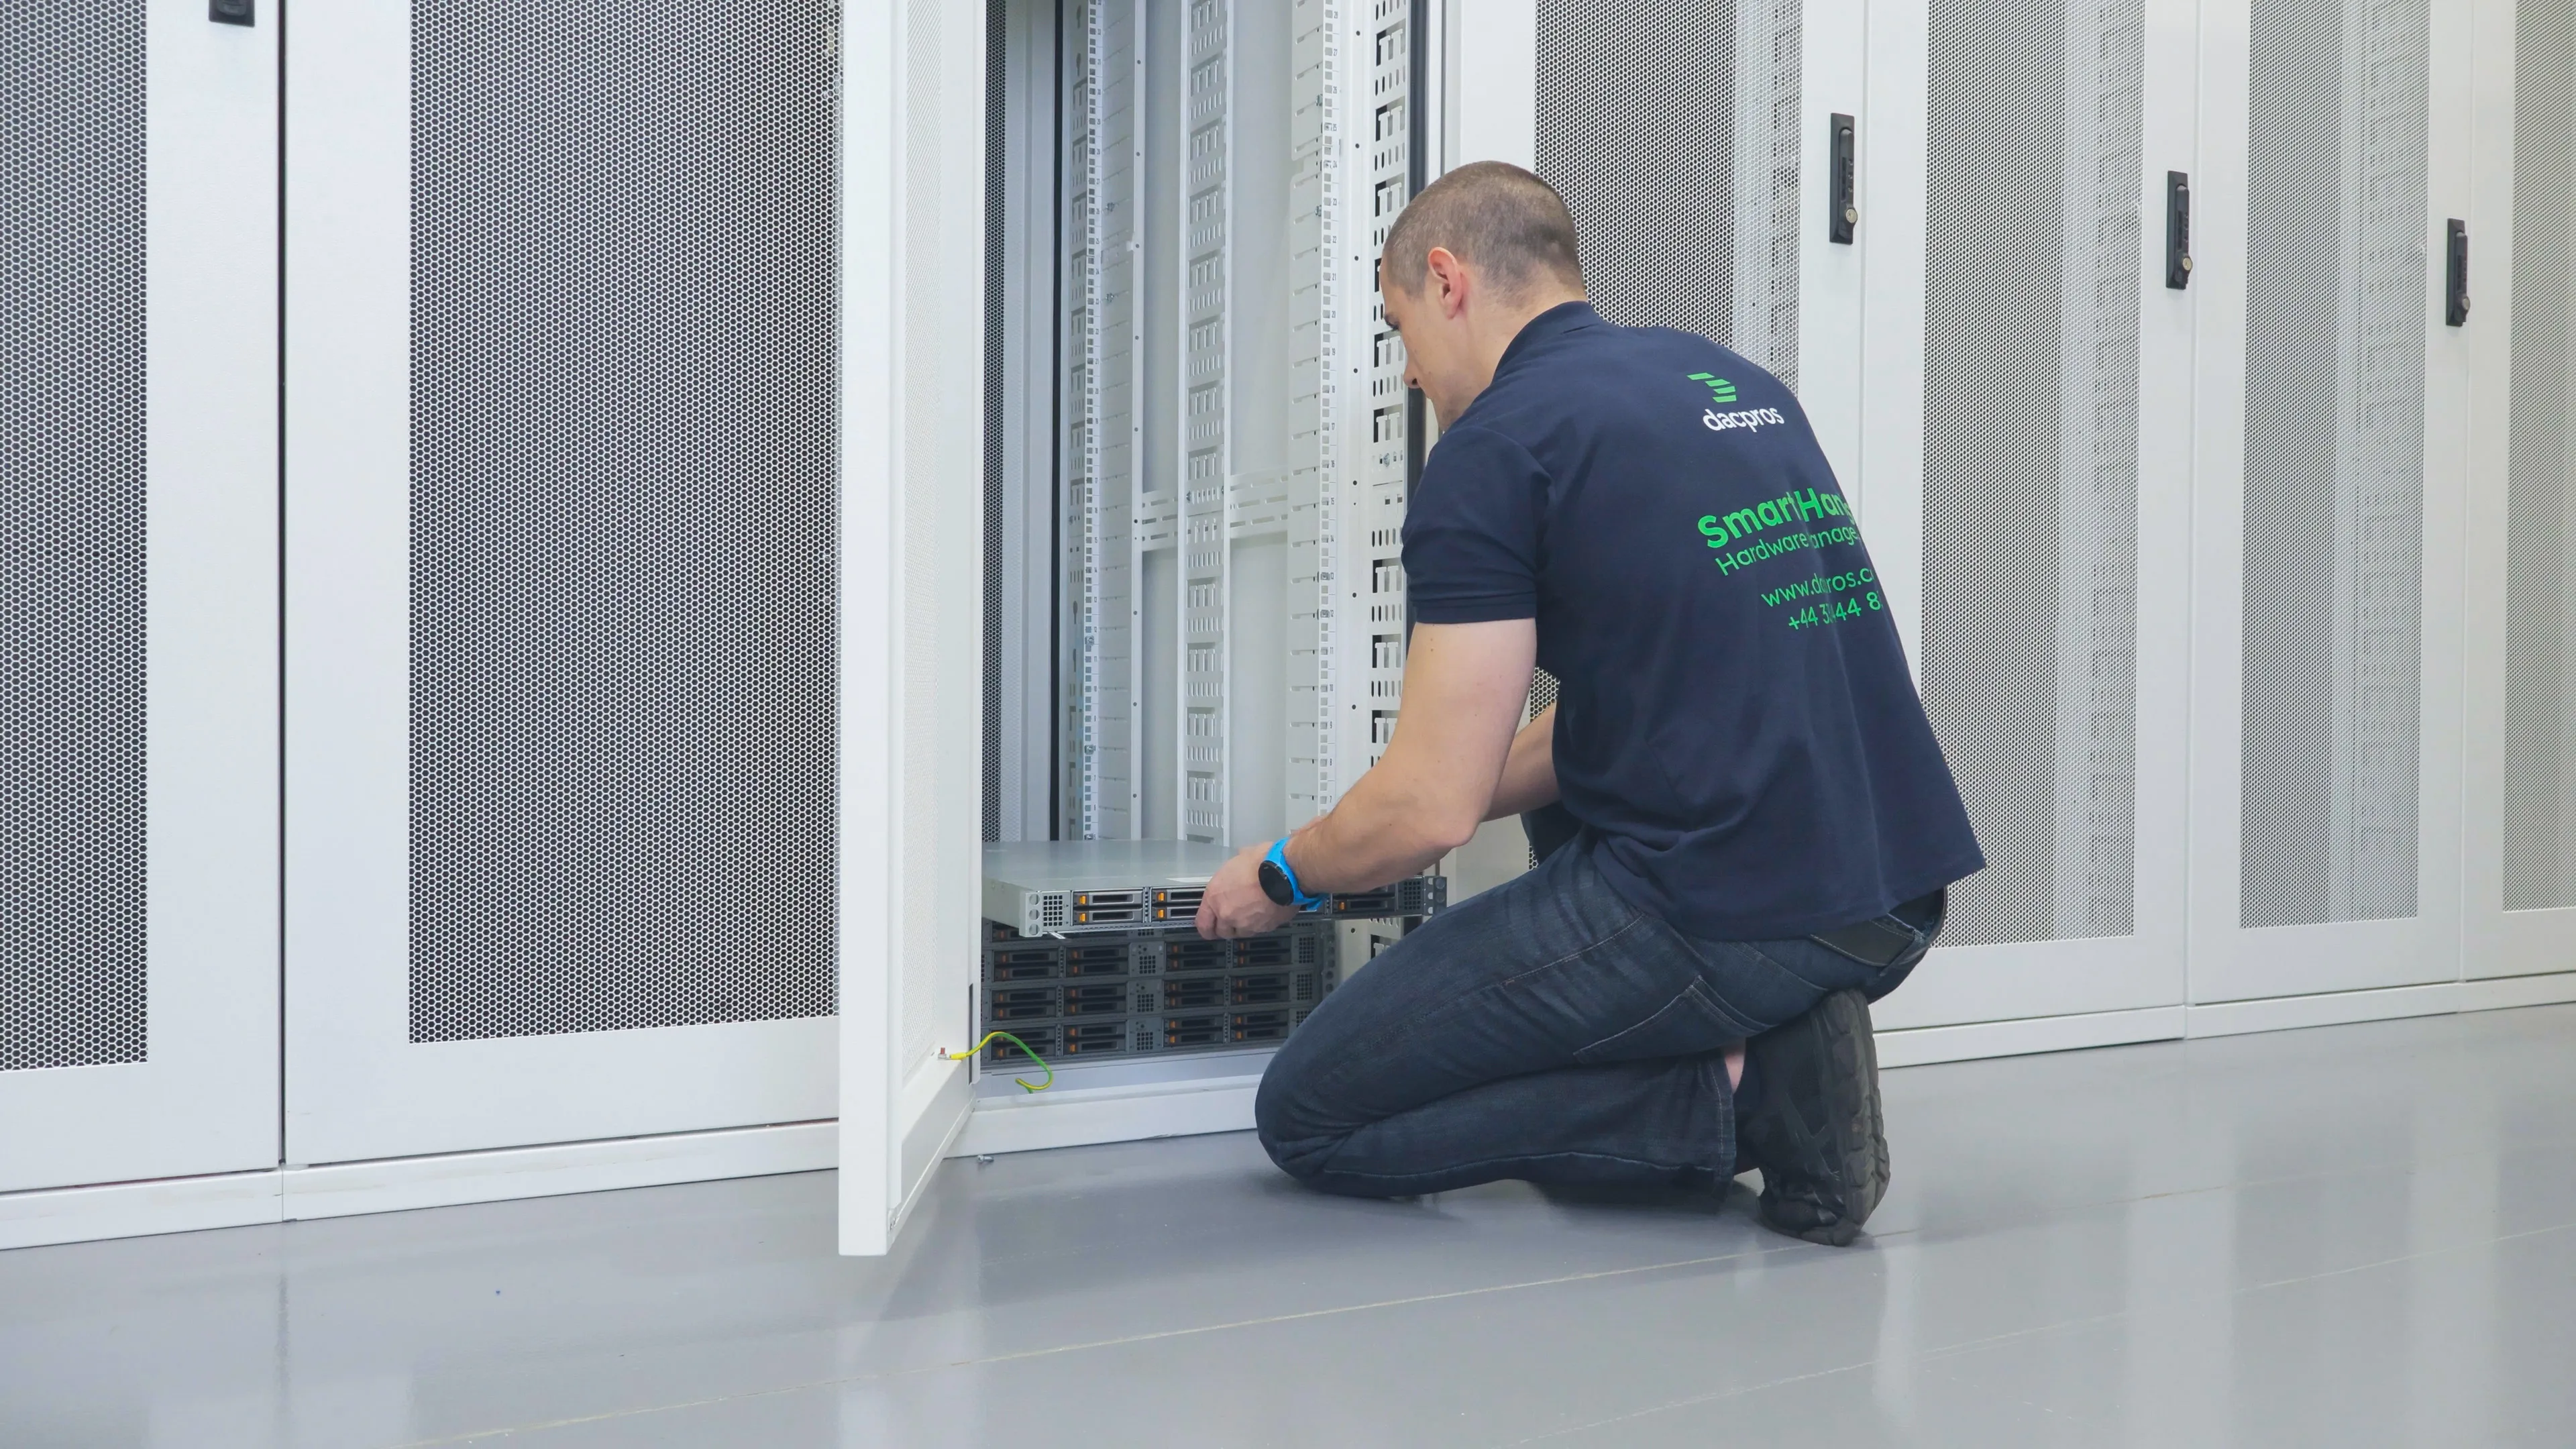
Rack and stack sounds like the simple end of data centre work. Hardware goes into a rack, cables go in, lights come on. In practice the install is the smaller part of the job. What decides whether it finishes on schedule is whether the information and parts the engineer needs were in place before they arrived.
We see this on real builds. On one two-rack build for a remote engineering team, going through the order line by line before it was placed found cables that had not been included, and every one was needed. Checking the depth of each machine before the vertical mounting posts were set meant a long AI cluster that arrived months later dropped straight in. Neither fix was clever. Both were done on paper, where they cost nothing. You can read the full account in the cabinet build case study.
This checklist is built around that principle. If you can answer each of the ten sections below, your deployment has a good chance of running to plan. If you would rather have it done and documented for you, our build and deployment service covers racking, OS installation, structured cabling, testing and handover.
Send your provider the items marked in the brief under each heading. That is enough for them to confirm scope, sequence and change window. Our build and deployment page lists what we ask for.
1. Rack elevations and U positions
An elevation is a drawing of each cabinet showing which device sits in which U position. Without one, the engineer decides placement on the day, and you inherit whatever they chose.
- Number the U positions and say which end you count from. Conventions differ, and a device in U10 means different things if the counting starts at the top or the bottom.
- Place heavy kit low. Heavy servers and storage low in the cabinet, lighter network gear above, unless your design requires otherwise.
- Check airflow direction. Switches can be front-to-back or back-to-front. One fitted the wrong way round fights the hot aisle, so confirm direction for every switch before it is ordered.
- Plan space for cable management and blanking panels. Leave room for horizontal managers and cable arms, and fill empty U with blanking panels to keep airflow separated.
- Check depth. Compare the depth of every device, including cable bend and PSU handles, against the usable depth of the cabinet. If a later install such as a cluster is not in the building yet, include its dimensions now.
In the brief: the elevation for each cabinet, with facility, hall and cabinet identifiers.
2. Hardware inventory
An inventory lists exactly what is arriving, so the engineer can tell what is missing without guessing.
- Models, part numbers and quantities for servers, switches, storage, optics and accessories.
- Delivery status and dates. What has arrived, what is in transit, what is delayed, and who receives it.
- Serial numbers. Capture them at unpacking, before the first device is powered on, so you have a complete asset record from day one.
- What happens to damaged or dead-on-arrival kit. Agree who raises the replacement and what the engineer should do on site.
- Packaging. Many facilities restrict cardboard and bulky packaging in the data hall. Agree where kit is unpacked and who removes what is left.
In the brief: the inventory, delivery dates and the name of whoever receives goods at the facility.
3. Rails and mounting equipment
Wrong or missing rails are among the most common reasons an engineer is on site with kit that cannot be mounted.
- Match the rail kit to the rack. Square or round mounting holes, tool-less or bolted, and the depth range the rails support.
- Confirm each server shipped with its rails, or order them separately. Do not assume.
- Supply fixings. Cage nuts, screws and washers in the right thread, plus shelves for equipment that has no rails.
- Add accessories. Cable management arms, blanking panels, brush panels and cable ties or hook-and-loop straps. Specify cable management at the start. Fitting it later means pulling existing cabling apart.
- Check the vertical mounting posts. Their depth is set once for the whole cabinet. Set them wrong, populate the cabinet, and every server comes out again before they can be moved.
In the brief: the rack type and the accessories you are supplying.
4. Power and PDU requirements
Power is the one area where a late discovery can stop a build entirely, because it often depends on the facility.
- PDU type and quantity. Metered or switched, vertical or horizontal, and who supplies them: you or the facility.
- Input and connectors. Single or three phase, the supply current, and the plug type at the cabinet, plus the outlet types on the PDU (such as C13 and C19) against the power cables on your devices.
- A and B feeds. If devices have redundant power supplies, plan which PSU goes to which feed.
- Load per cabinet. Total draw against the power available. Balance connections across the PDUs rather than filling one first.
- Power-on sequence. Large builds may need powering up in stages instead of all at once.
In the brief: PDU type, connector types, the power allocated to each cabinet and who supplies the power cables.
5. Copper and fibre port mapping
A port map says what connects to what. It is the document that turns hundreds of cables from a puzzle into a task list.
- Both ends of every link. Source device and port, destination device and port.
- Media and connector. Copper category, direct-attach cable, active optical cable, multimode or single-mode fibre, and the connector type such as LC or MPO.
- Speed and transceivers. Specify module type for each port and check compatibility with the switch and the device. Some equipment only accepts optics from specific vendors.
- Length. Check every run for length before the window is booked, not on the day. This matters most when equipment is moving to a different position, as on our border router relocation, where cabling that reached the old position did not necessarily reach the new one.
- Cross connects. Anything crossing to another customer or carrier is ordered through the facility and can have a lead time.
In the brief: the port map, or a clear statement that you need help producing one.
6. Cable and labelling standards
Labelling decides how quickly the next fault is found, and whether the next person can add equipment without disturbing what is there.
- Agree a convention for cables, ports and devices. If you follow a standard such as ANSI/TIA-606, say so. If you have no convention, ask your provider to apply theirs and document it.
- Label both ends, and label devices at the front and rear so a label is still readable once the rack is dressed.
- Agree cable standards. Colour coding for different purposes, bend radius and how cabling is dressed. Our guide to structured cabling best practices sets out the rules we work to.
- Decide how labels are checked. The simplest test is to check each label against the port map.
In the brief: your labelling convention, or confirmation that the provider should apply theirs.
7. Facility access
A fully prepared build still cannot start if the engineers cannot get in.
- Booking and approval. Most facilities require named visitors to be approved in advance, often with ID. Ask how much notice they need.
- Induction and site rules. Safety induction, escort requirements, and what tools and equipment can be brought in.
- Goods in. Loading bay slots, delivery windows, storage for kit before the build and lift or door dimensions for large cabinets.
- Working area. Where equipment can be unpacked and staged, and the hours it can be used.
- Contacts. Who on your side and the facility’s can be reached during the work.
In the brief: facility, hall and cabinet, access requirements, and the contact for each.
8. Remote-console requirements
If your technical team is remote, the build is only finished when they can log in. Plan this at the same time as the hardware.
- Out-of-band management. Management addresses for each server’s controller, such as iDRAC or iLO, and the management network they sit on.
- IP addressing and VLANs. The scheme for production and management networks, agreed before the switches are configured.
- OS images, firmware and licences. Versions to install, where the images are, and any licence keys.
- Upstream connectivity. Make sure the internet or WAN connection your team will use to reach the kit is live when the build ends.
- Credentials. Agree how access details are exchanged securely. Do not send them by plain email.
In the brief: addressing, image and firmware versions, and how your team will connect at handover.
9. Testing and acceptance criteria
Define what “done” means before the work starts. Otherwise it is whatever the engineer says it is.
- Hardware. Every device powers on, completes its self-test and reports no hardware errors.
- Power. Each device draws from the feeds you specified, and redundant supplies behave as expected. Agree in advance whether a feed can be removed for testing.
- Links. Every port in the port map is up at the expected speed. Copper runs are tested and fibre links checked.
- Management. Console and management access works for each device from your side.
- Labelling. Every label matches the port map.
- Sign-off. Who accepts the work and how any outstanding items are recorded.
In the brief: your acceptance criteria, or a request to agree them before the date.
10. Handover documentation
Documentation is what makes a rack workable after the engineers leave.
- As-built elevation showing what was installed where, including any change from the plan.
- As-built port map reflecting every cable as installed.
- Asset list with serial numbers.
- Photographs of each cabinet, front and rear, and of anything unusual.
- Test results and the record of any fault found and how it was fixed.
- Configuration and address records, including management addresses.
- Open items. Anything unfinished, with owner and next step.
In the brief: the list of documents you expect, and the format you want them in.
Missing cables or transceivers. Rails that do not fit the rack. A device deeper than the cabinet. No access booking for a named engineer. A power supply that does not match the PDU. Each one is visible in the documents above, which is why we ask for them first.
Getting from checklist to a built rack
If you have most of this, you are ready to book. If you have some of it, send what you have. A provider can review your plan, find what is missing and raise it before you order, which is the point at which fixing it costs least.
DACPROS delivers rack and stack as part of its build and deployment service, from a hub in Hammersmith and across the UK. Builds are planned around your access and change windows, and every build is tested and handed over with as-built records. For examples, see the two-rack cabinet build, the seven-cabinet migration and the live core cabinet rebuild. If you are still choosing who should do the work, read how to choose a rack and stack provider.